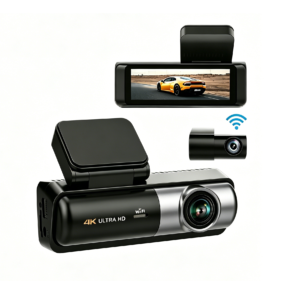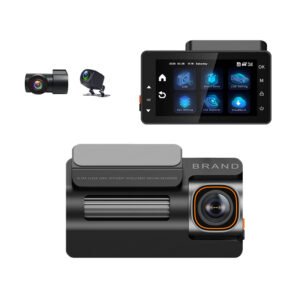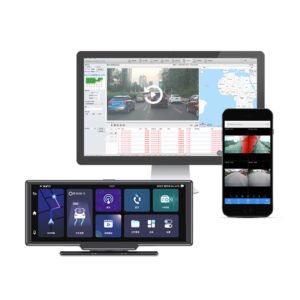
A dash camera only performs as well as its installation. The same unit that impresses in a showroom will generate complaints if the lens sits outside the wiper sweep or the rear cable is pinched in a tailgate. This guide walks through the standard front and rear installation used by our wholesale customers, following the four cable routes in the reference diagram below.
Who this is for: distributors and resellers training installers, fleet operators rolling out multiple vehicles, and private label brands writing their own manuals. Feel free to adapt this procedure for your own documentation.
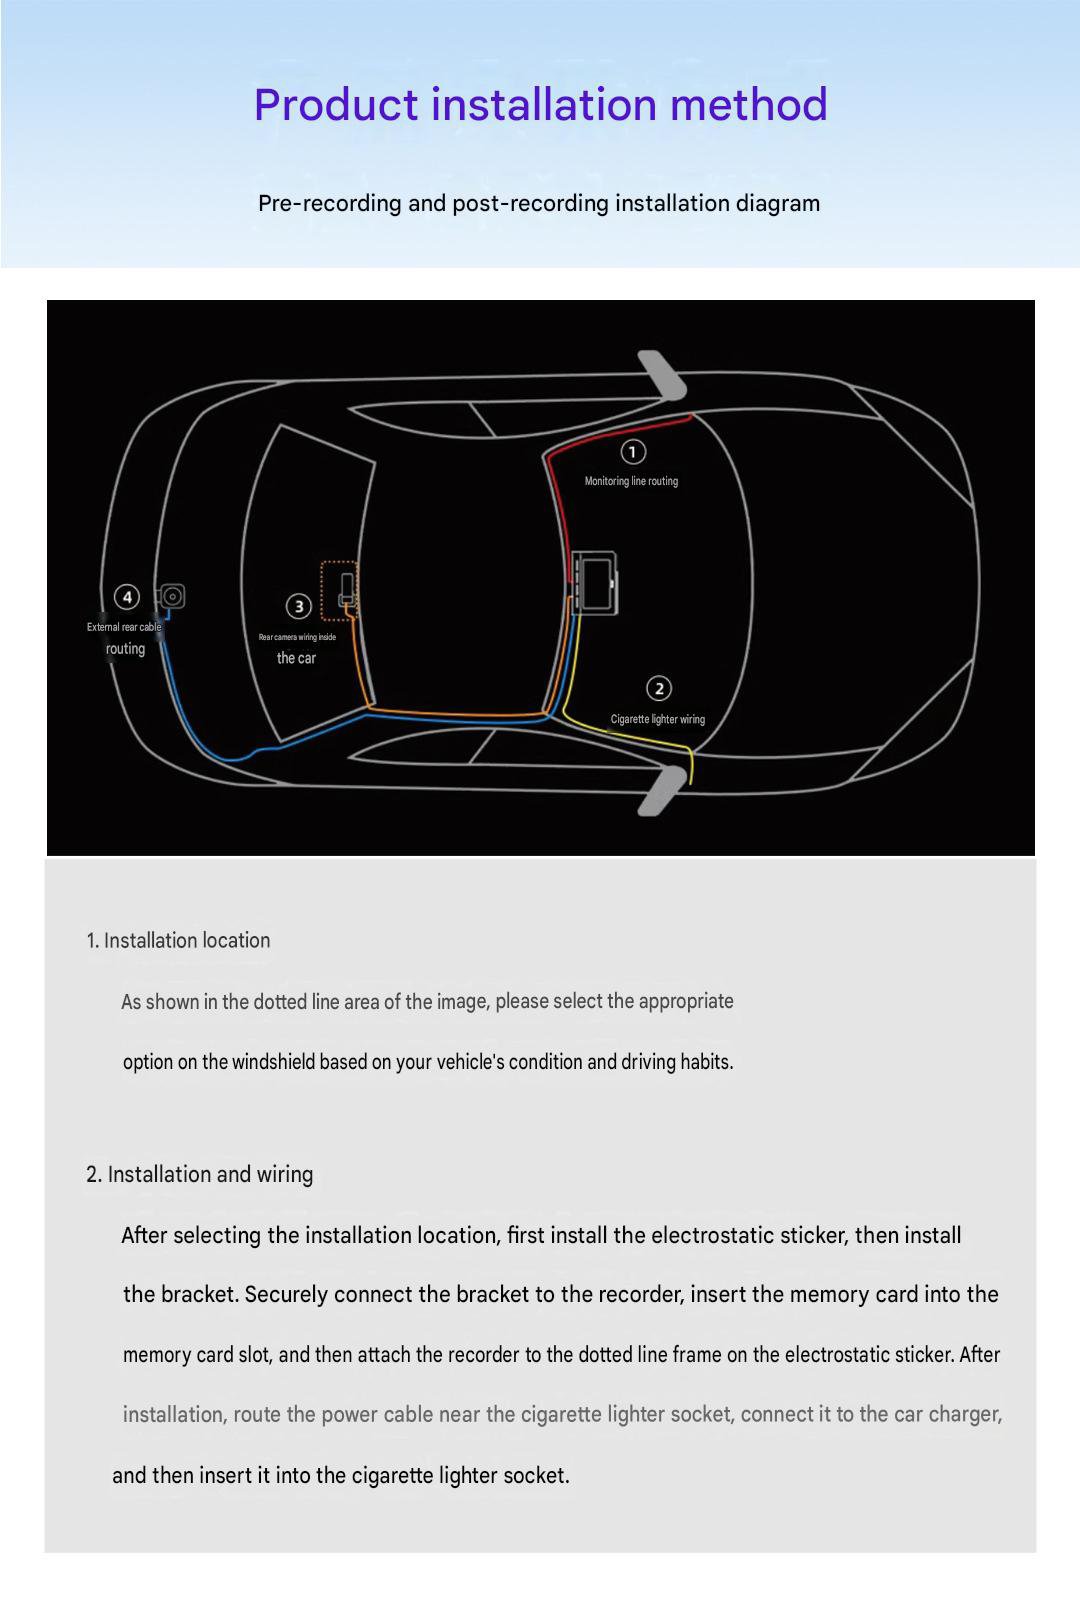
The four cable routes at a glance
Every front and rear installation is a combination of these four runs. Decide all four before you peel a single sticker — rerouting a cable after the trim is closed up costs far more time than planning it.
| # | Cable run | Path | Why it matters |
|---|---|---|---|
| 1 | Monitoring line routing | A-pillar → headliner, up to the mirror area | Keeps the camera cable out of the driver’s sightline and away from the airbag deployment path. |
| 2 | Cigarette lighter wiring | Down the pillar trim → 12V / cigarette lighter socket | The standard power feed. Tuck slack behind the trim so the plug is not pulled sideways. |
| 3 | Rear camera wiring inside the car | Headliner → C-pillar → tailgate rubber grommet | Preferred route for saloons, hatchbacks and SUVs — fully concealed and weather-protected. |
| 4 | External rear cable routing | Along the door sill / under exterior trim | Used on pickups, vans and box bodies where no interior path exists. Requires a waterproof cable and proper strain relief. |
Step-by-step installation
Step 1Choose the mounting position
Hold the camera against the windshield inside the dotted-line zone shown in the diagram — normally just below the rear-view mirror, slightly to the passenger side. Confirm three things before you commit: the lens is inside the wiper sweep, the body does not block the driver’s view, and it clears the airbag label on the A-pillar. Local rules on windshield obstruction vary by market, so distributors should check the destination country before advising installers.
Step 2Fit the electrostatic sticker, then the bracket
Clean and dry the glass, apply the electrostatic sticker first, then press the bracket onto the sticker. The sticker is what makes the mount removable and repositionable — adhesive straight onto glass is much harder to correct and hurts your return rate.
Step 3Insert the memory card and seat the recorder
Push the card into the slot until it clicks, then slide the recorder onto the bracket and align it with the dotted frame on the sticker. Format the card in the device on first use, and specify a high-endurance card — card failure is the single most common false “camera defect” claim we see from the field.
Step 4Route and connect the power cable
Run the power cable from the camera along the headliner edge, down the A-pillar trim, and across to the 12V socket (route 2 in the diagram). Plug it into the car charger, then into the socket. Leave a small service loop near the camera so the connector is never under tension.
Step 5Route the rear camera cable
For a concealed finish use route 3: headliner, C-pillar, then through the tailgate rubber grommet. Where no interior path exists, use route 4 along the sill with a waterproof cable. Keep the video cable away from the main harness and from any GPS or radio antenna to avoid interference lines in the recording.
Step 6Power up and verify before handing over
Start the engine and confirm: both channels record, the timestamp and date are correct, loop recording is active, the G-sensor triggers an event file, and parking mode behaves as configured. Play back one front and one rear clip on a phone or PC — do not sign off on the preview screen alone.
Interior vs external rear cable routing
| Route 3 — inside the car | Route 4 — external | |
|---|---|---|
| Best for | Saloons, hatchbacks, SUVs, MPVs | Pickups, vans, box bodies, trailers |
| Appearance | Fully concealed | Partly visible along trim |
| Weather exposure | None | Direct — waterproof cable required |
| Install time | Longer (trim removal) | Shorter |
| Failure risk | Low | Higher — abrasion and car-wash damage |
Five mistakes that cause most returns
- Mounting outside the wiper sweep. The footage is useless in rain, which is exactly when it is needed.
- Running the cable across the airbag path. A safety issue and a liability issue — always go around the A-pillar airbag, never over it.
- Pinching the rear cable in the tailgate. Use the rubber grommet and leave a service loop for the hinge movement.
- Shipping a low-endurance memory card. Early card failure gets reported as a camera fault and damages your reviews.
- Skipping playback verification. The live preview can look fine while the card is not actually recording.
Notes for wholesale and branding buyers
- Standardise per vehicle model. Fleet rollouts get dramatically faster once one route is documented with photos for each model in the fleet.
- Bundle the right accessories. Hardwire kits for parking mode, high-endurance cards, spare electrostatic stickers and trim tools reduce support tickets and raise order value.
- Localise the manual. We supply installation artwork for private label packaging, so your manual can match your own branding and language.
- Train on verification, not just fitting. The six-point power-up check above is what prevents avoidable RMAs.
Related product ranges
Installation differs slightly by camera type. Browse the range that matches your project:
- Dual-Lens Dash Cameras — the classic front and rear setup described in this guide
- Triple Channel Dash Cameras — adds an interior or cabin channel for taxi and ride-share use
- Vehicle Fleet Management — 4G / LTE fleet DVRs with remote live view and GPS
- 2K / 4K Ultra HD Dash Cameras — higher resolution front recording for plate legibility
- Full wholesale catalog — all 18 in-stock models with specifications and MOQ
Installation FAQ
Where exactly should a dash cam be mounted?
Inside the wiper-swept area of the windshield, just below the rear-view mirror and slightly toward the passenger side. That position gives a centred field of view, keeps the lens clean in rain, and stays out of the driver’s line of sight.
Should the rear camera cable run inside or outside the vehicle?
Inside whenever the body allows it — route 3 in the diagram. An interior run through the headliner and tailgate grommet is invisible, protected from weather and far less likely to be damaged in a car wash. Reserve the external route for vans, pickups and box bodies with no interior path.
Can the camera stay powered when the engine is off?
Only with a hardwire kit or a dedicated battery pack. A cigarette lighter socket is switched off with the ignition on most vehicles, so parking surveillance needs a hardwire kit with low-voltage cutoff to protect the starter battery. This is the usual upsell for fleet and security-focused buyers.
What memory card should ship with a wholesale order?
A high-endurance microSD card rated for continuous video. Standard consumer cards are not designed for 24/7 loop writing and fail early, which generates warranty claims against the camera rather than the card. We can bundle qualified cards with branding orders on request.
How long does a front and rear installation take?
A trained installer needs roughly 30 to 45 minutes per vehicle for a fully concealed front and rear fit. Fleet rollouts move faster once the route is standardised for a single vehicle model.
Need installation support for a wholesale order?
We supply installation artwork, hardwire kits and branding customisation for distributors, fleet operators and private label brands. Low MOQ, FCC / CE / RoHS certified.